This article originally appeared on The Firearm Blog
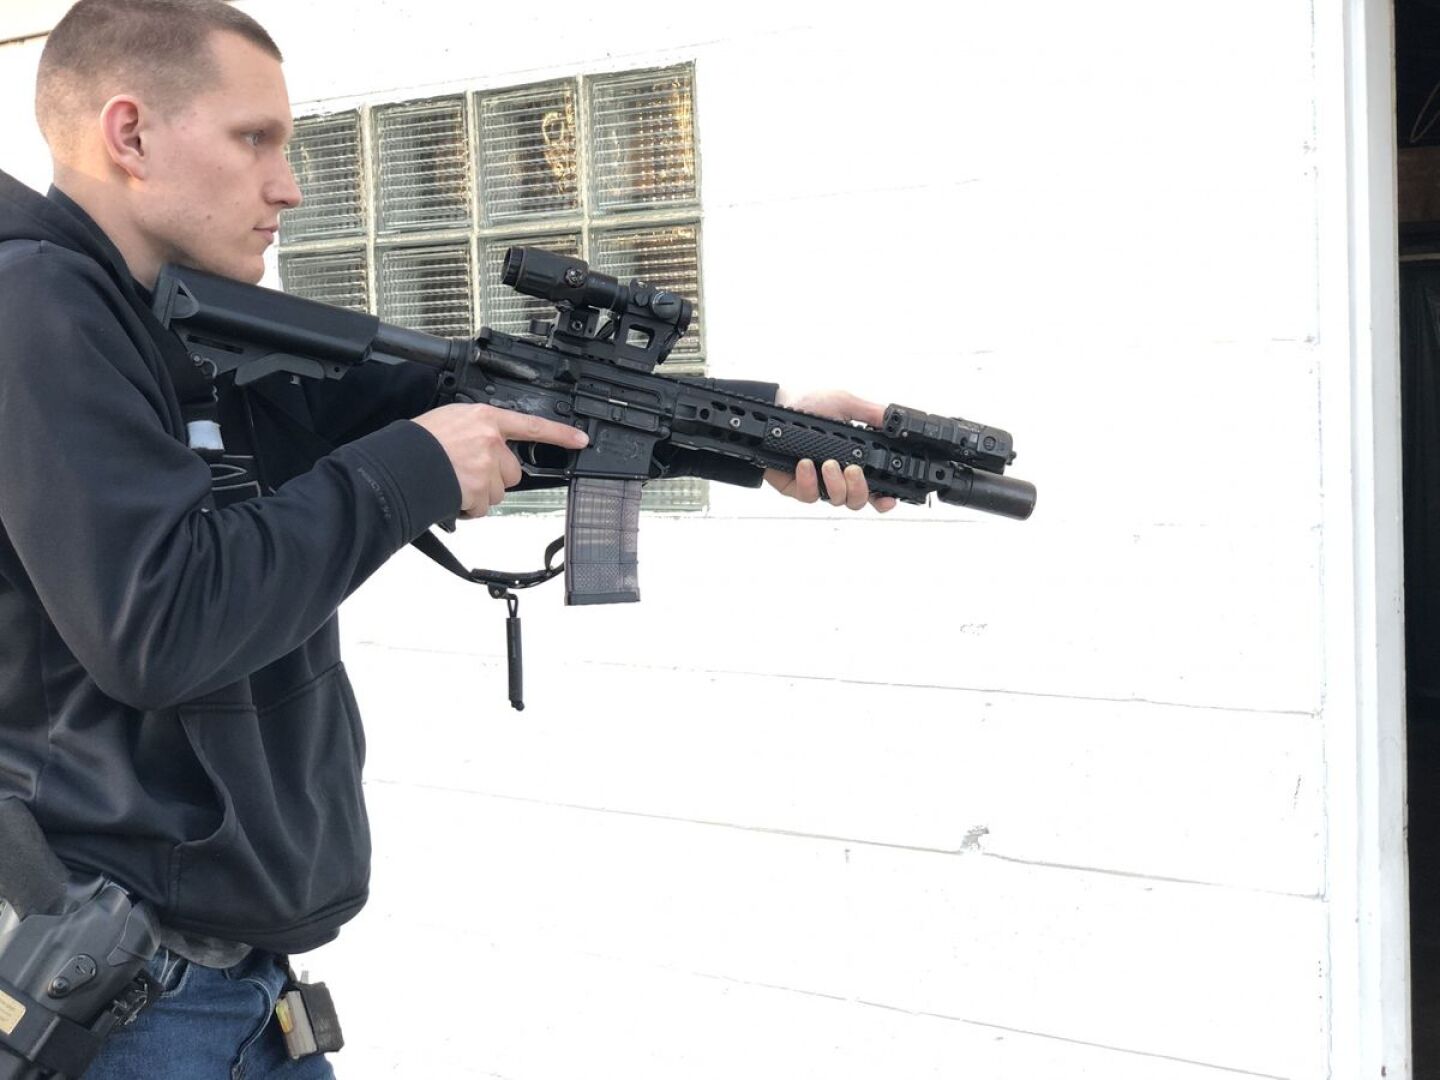
Ready positions are important. These are the positions we can immediately fight from. The gun is readily accessible AND we are able to cover an angle of exposure. An angle of exposure is an angle from which a threat could present itself. This could be from behind a couch, an open doorway, etc. Ready positions provide a clear and safe path to a target and provide an unobstructed angle of attack. This is the position we want to use if we are worried about an imminent threat. There are three ready positions including Low Ready, Retention and High Ready. Each position has an inherent use. Which ready position is used is based on what is best for the scenario at hand.
Low Ready
To get into a low ready position stand up naturally. Keep your weapon low enough that you can turn your head over your stock in either direction.
Low ready is used often but it’s rarely used to its greatest potential. Proper low ready is a more natural position. Low ready keeps the weapon low enough to keep it out of your focus. By keeping the optic higher it will distract you and you will focus through your optic rather than on problems in front of you. This heightened focus through your optic is like trying to search a large area while looking through a straw. Instead, lower the rifle slightly and expand your field of view. This is a good way to maximize situational awareness. Some good uses for low ready could be on the first floor of a building or when searching with a weapon light.
When analyzing validity in force on force, those looking just over the top of their optic often shoot from this position instead of properly raising to an on-target position. As a result, accuracy is compromised and initial shots are lower than intended. These shots often end up in the groin area instead of more lethal target areas. We want it to be a conscious decision to go from low ready to on-target and go through the engagement sequence. While the round may still impact the threat, a groin shot is not as efficient at putting down the threat.
Retention
Retention is used frequently and provides a consistent and repeatable position to maintain control of our rifle with one hand. The support hand performs various other tasks. Opening a door, retaining the rifle for extended periods of time, or manipulating the gun are best done from retention. Manipulating the weapon would include tasks such as reloads or clearing malfunctions. Retention also orients the rifle in a position that allows the user to use their rifle light or IR illuminators in low light. As a more compressed position, retention can be beneficial in closer spaces.
To get to retention from low ready, push the stock out from your shoulder about 2 inches. This allows us to clear anything that could get in the way on our chest and then move the stock to the armpit and trap it as high as possible. The rifle will find itself oriented parallel to the ground. Our body provides more structural support as opposed to holding the weight of the rifle solely with our fire control hand. In retention, we are often doing other tasks with our support hand. Our support hand may be working a doorknob, reloading the rifle or a host of other tasks. Retention is also able to be used as a firing position on close targets or targets at slightly longer distances with the use of lasers.
High Ready
Retention is very similar to high ready. The difference is simply moving the stock down to the hip and looking over the muzzle. In high ready, we can use the end of the muzzle as a front sight. When moving around this also should be done in a way that compensates for offset. When a shot needs to be taken we make the decision to shoot, push the muzzle of the gun towards the target, and move the stock to the shoulder pocket into an on-target position. Having the muzzle already oriented provides much quicker times in getting your dot or reticle on target from a high ready position.
In the high ready, we do not cant in the rifle. It is still perfectly vertical as we do not want to add unnecessary and wasted movement. This wasted movement is due to having to also twist the rifle laterally while vertically moving the rifle to get on target.
Ready positions give us a safe position to quickly get into a fight. While some of the intricacies may not seem important, they cut off time and allow us to get into the fight with greater accuracy in a more efficient manner. Like any of the other positions we have covered, practice moving between the positions. Learning the positions and their benefits will improve your ability to manipulate your weapon in a fluid manner and allow for safer gun handling. You can find more information on other positions here or by taking training at Alliance Police Training.


